Just for writers
-
A special writing workshop for women
Among the things that make me happy: helping other women find their voices and hearing their stories. That’s why I’m excited about my upcoming workshop, “Your Story, Your Power,” which is based on the book, Your Story Is Your Power: Free Your Feminine Voice, by Elle Luna and Susie Herrick. The free, one-night workshop will be held at the Royal Oak Public Library on Monday, September 24 at 7pm. I discovered this guide several months ago — and was immediately struck by its timeliness. The authors invite women of all ages to take a closer look at their family history as well as the cultural myths and personal experiences that have inspired, defined, changed, or even…
You May Also Like
My art in a magazine
-
“Details, Details” workshop
Join me at the Royal Oak Public Library on Wednesday, May 2 (7:00 – 8:30 PM) for an evening workshop focusing on how to identify and describe the colorful specifics that editors look for in personal essays, columns, and feature stories. Discover how to make your writing sparkle and stand out from dozens of other submissions. This free program is designed especially for new writers. Registration is required to reserve your space: 248-246-3715 or visit the Royal Oak Public Library web site for more information.
-
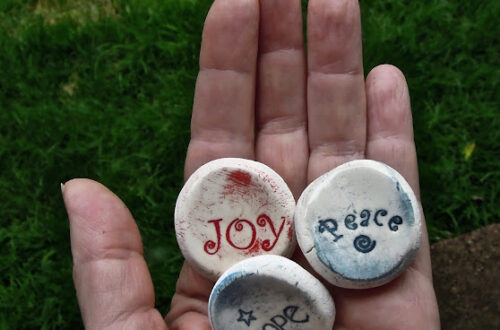
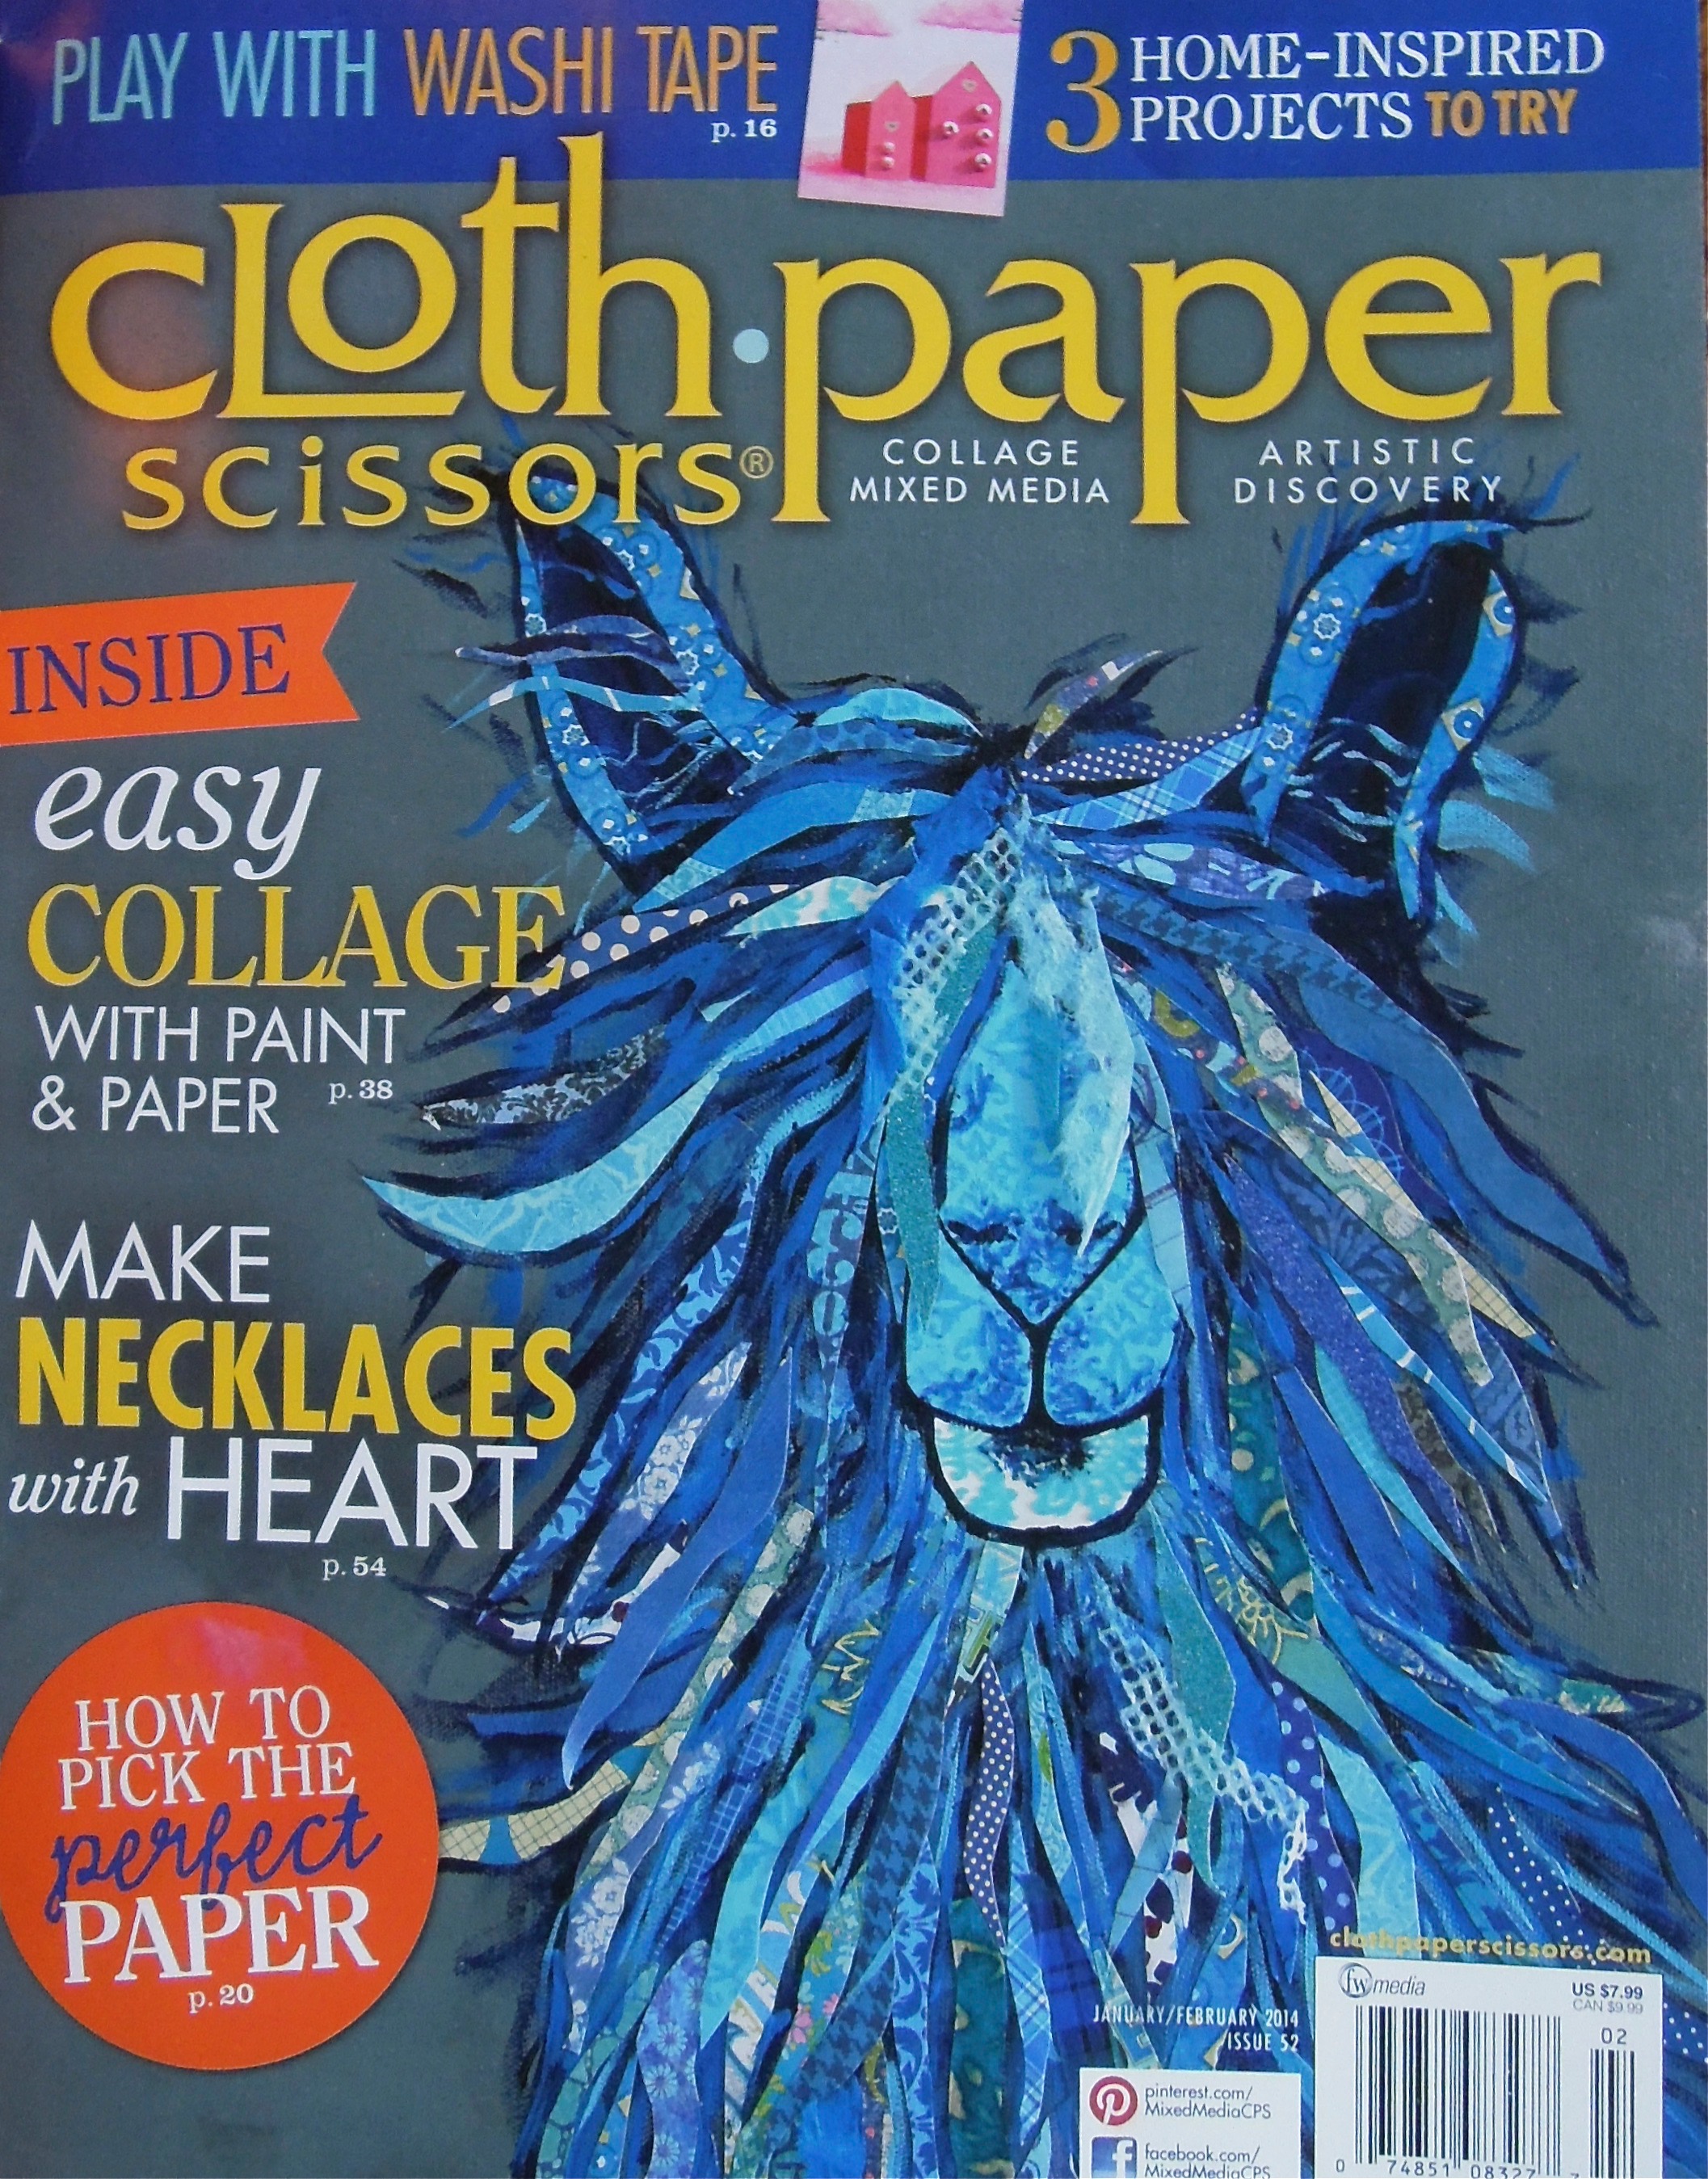
My art in a magazine
Your art is what you do when no one can tell you exactly how to do it. Your art is the act of taking personal responsibility, challenging the status quo, and changing people.” — Seth Godin I’ve been publishing my essays and articles since I was in college, yet I still get that little thrill each time I see my byline in a glossy magazine or a newspaper. Until this year, though, I didn’t have the nerve to submit my artwork to publishers — so I was honored when two of my pieces were chosen to illustrate the Rust Belt Rising Almanac this spring. Another exciting “first” for me: getting my work…